

My DragonWing Arts students are in the midst of making all sorts of delicious creations with various types of papier-mache. There's the pizza slices pictured here, plus donuts, slices of cake and pie, and ice cream sundaes! The pizza slices were the easiest to make and therefore are the first to be done, so I thought I'd share them with you today. In the coming couple of weeks, we will be painting the cakes, donuts, and ice cream, and I'll be sharing them here too.

I started by cutting out a couple of large circles from some chipboard, but any cardboard would be fine. I cut them into slices, and each student made one slice of pizza. I'm thinking, for our end-of-session art show, that I'll either find a large pizza box that will fit all 8 slices (I have 8 students currently), or a bunch of small ones, to display the pizza.


I didn't particularly care for the texture of the dry Celluclay, so we dipped pieces of toilet paper into mixed Art Paste and put a layer of it on top of the Celluclay. It very much mimicked the texture of gooey stretchy cheese.


The boy who made this slice insisted he wanted no toppings, because that's the way he likes to eat his pizza, and he purposely 'burned' his crust!

Below, a pizza slice is topped with pineapples, olives, mushrooms, red and green peppers, and some fresh mozzarella. And another well-done crust!

Below, a very saucy pepperoni pizza!

The boy who made this pizza below was being pretty goofy. He wanted to put liver on his pizza, but in the end, I think he made mushrooms instead, and added sauce and cheese to his crust.

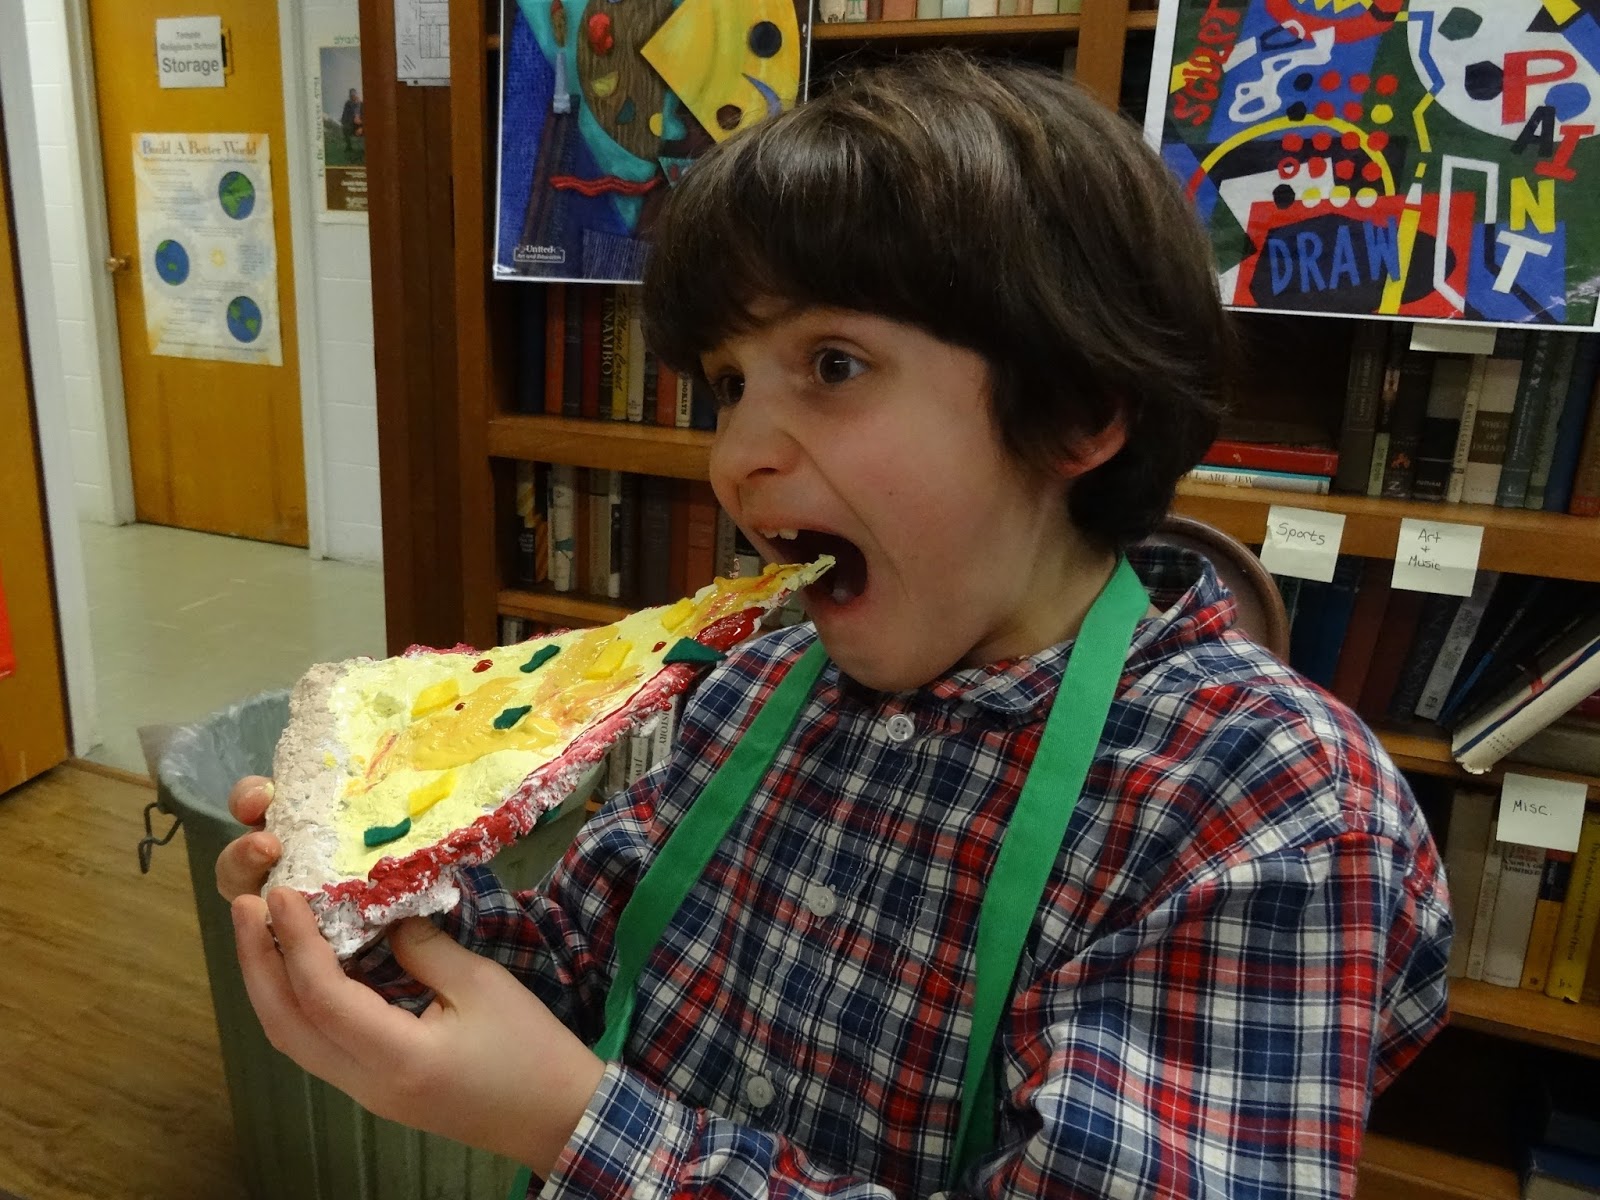
The kids were enjoying 'eating' their pizza slices!


I'm afraid, with all my demonstrating, my sample slice (below) looks like its been re-heated in the toaster oven one too many times. It's cheese looks rather dried out!

Below, some of the finished slices. Now they will be set aside until we properly display them in our 'art show' during the final class of the 8-week session. All-in-all, it's an easy and fun project, and if you are scared of papier-mache, a project like this is an easy way to get your feet wet!

No comments:
Post a Comment
Due to spam/phishing overload, comments are no longer being accepted on this blog. You can find There's a Dragon in my Art Room on Instagram if you wish to react to this blog or contact me.
Note: Only a member of this blog may post a comment.